


Whirlwind: Build a Data-Driven Android App in 1 hour
Using Jetpack Compose with Firebase Authentication and Cloud Firestore


Basic Data-Driven App Project Setup
Step 1: Create a New Project
Open Android Studio and select "Start a new Android Studio project."
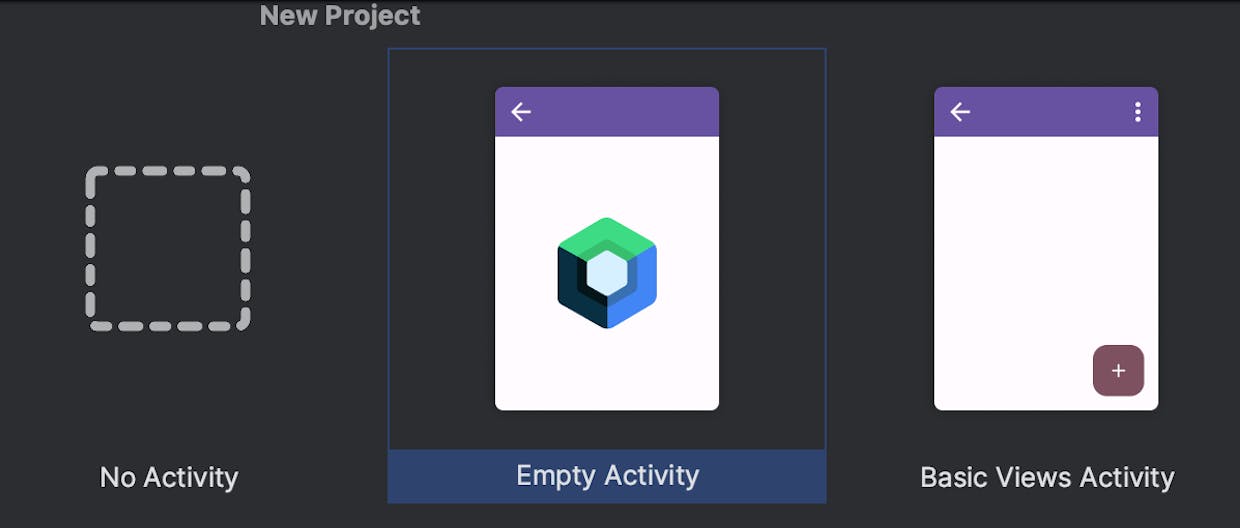
Choose "Empty Activity" as the project template.
Provide a project name (e.g., "Whirlwind"), package name, and save location.
Make sure Kotlin is selected as the programming language.
Click "Finish" to create the project.
Step 2: Wire up Firestore Database
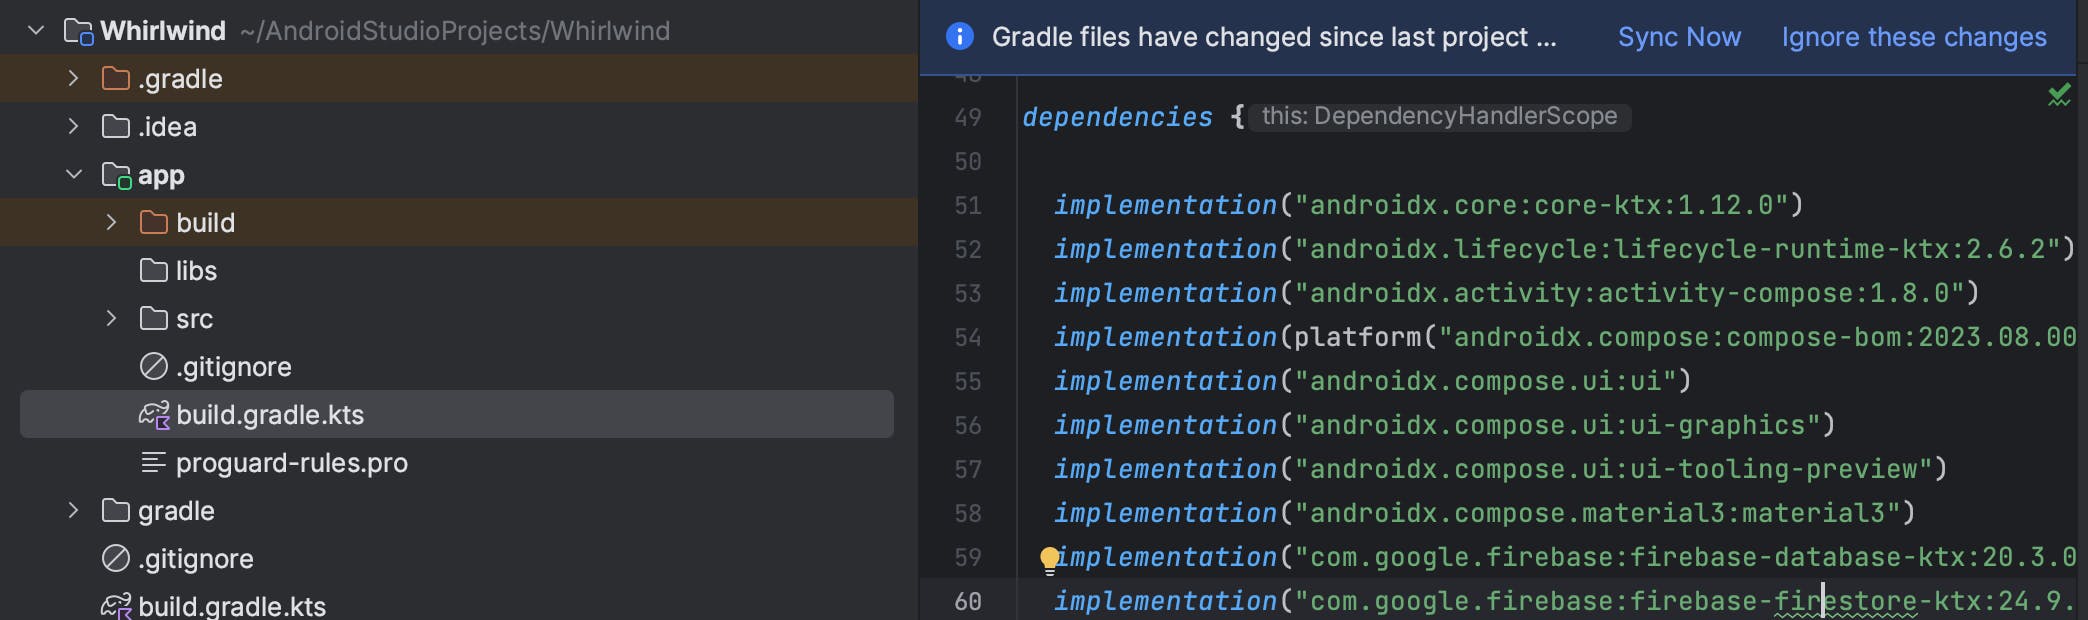
- In the project's
build.gradlefile, add the following dependencies:
  implementation("com.google.firebase:firebase-database-ktx:20.3.0")
  implementation("com.google.firebase:firebase-firestore-ktx:24.9.1")
Step 3: Set up Firebase in Android Studio
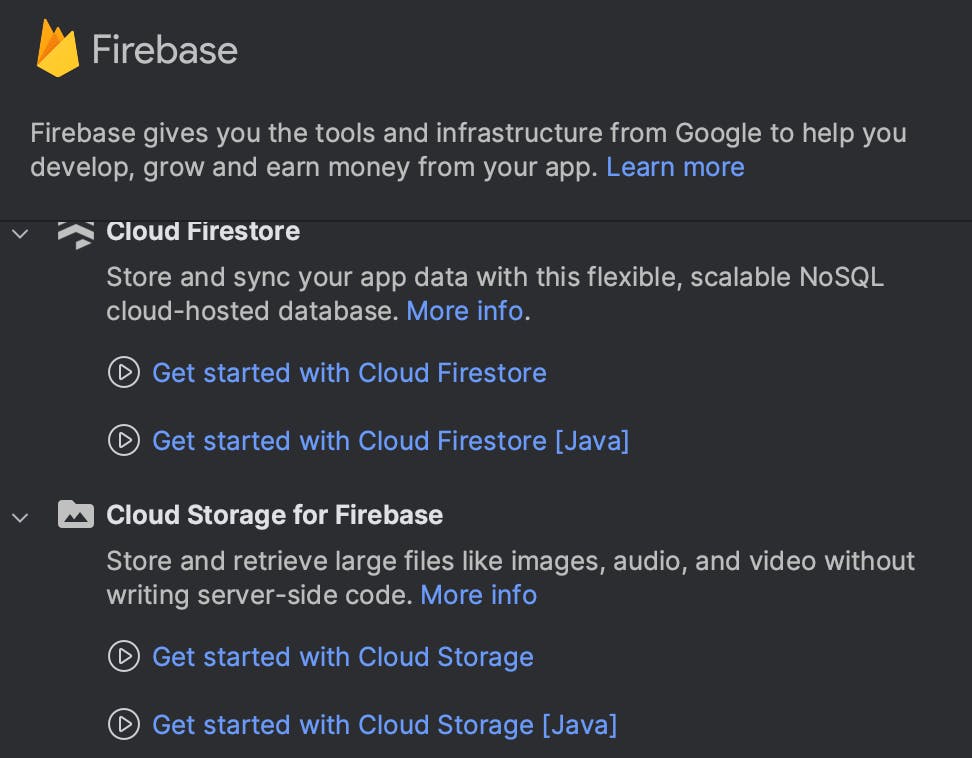
- In Android Studio, go to "Tools" > "Firebase" > "Cloud Firestore" > "Get started with Cloud Firestore".

Click "Connect to Firebase" and select your Firebase project or create a new one.
Click "Add the Cloud Firestore SDK to your app"
In the Firebase console (https://console.firebase.google.com/) click "Create database".

Start in "Production Mode" (and check out https://blog.dyor.com/rules-for-firestore for how to allow users to manage their own content)
NOTE SURE IF THIS IS NEEDED: Follow the instructions to download the
google-services.jsonfile and place it in the app module's root directory.
Step 4: Add some Jetpack Compose Elements
- In MainActivity.kt, add the
MyButtonfunction.
@Composable
fun Greeting(name: String) {
    Text(text = "Hello $name!")
}

@Composable
fun MyButton(buttonText: String, onClick: () -> Unit) {
    Button(onClick = onClick) {
        Text(text = buttonText)
    }
}
- Hit the green triangle in the top of Android Studio and see what beauty you have created.

Step 5: Get some Firebase Data into Android
- Add the following code to the OnCreate function
    val db = Firebase.firestore
    val user = hashMapOf(
      "first" to "Ada",
      "last" to "Lovelace",
      "born" to 1815
    )
    val TAG = "main"
    db.collection("users")
      .add(user)
      .addOnSuccessListener { documentReference ->
        Log.d(TAG, "DocumentSnapshot added with ID: ${documentReference.id}")
      }
      .addOnFailureListener { e ->
        Log.w(TAG, "Error adding document", e)
      }
- Run your app again, checkout logcat, and you should see a permission denied - because nobody can write to your Firestore database with its given rule.

- Go to your Firestore's rules tab in the Firebase Console, and make the database fully editable (briefly)

- Re-run your Android app, and then flip back to the Firebase console and you should see that there is now data in your database.

- Now pull this data into your Whirlwind app
db.collection("users")
        .get()
        .addOnSuccessListener { result ->
            for (document in result) {
                Log.d(TAG, "${document.id} => ${document.data}")
            }
        }
        .addOnFailureListener { exception ->
            Log.w(TAG, "Error getting documents.", exception)
        }
- In Logcat you should see an entry for each of your documents (one for each time you have started your app and successfully posted a new user)
Bring in Objects and Data Driven UI
Step 6: Create a User data class
- You can either put this in its own file, or you can just add it to the bottom of your
MainActivity.ktfile.
data class User(
  var born: Int = 0,
  var first: String? = null,
  var last: String? = null,
  var id: String? = null,
)
{
  constructor(): this(0, "", "", "")
}
Step 7: Change the UI to Display Firestore Data
@Composable
fun LazyColumnDemo(userArrayList: List<User>) {
  for (myuser in userArrayList) {
    Log.d("deepinsideyes", myuser.first!! )
  }
  LazyColumn {
    items(items = userArrayList, itemContent = { myUser ->
      Text(text = myUser.first!!, style = TextStyle(fontSize = 80.sp))
    })
  }
}
Next Steps
create a UI to post new users
authentication
create a Message data class
rules modification that allows any signed in user to create a message and each user to edit their own messages.